 Appwrite Workshop
Traveler Registration 📝

As we ascend further up the island, it seems we're getting closer to an old building; that must be where we need to go. But before that, let's find out how to get registered in the list of travelers who have embarked on this adventure! 🌴 In this section, we will explore the registration process, step by step! Traveler registration is the first essential step of our journey. With Appwrite, this task is simplified thanks to the Account service, which handles the entire process. 🏝️
⚠️ Initial Configuration
Before you start registering travelers, make sure your application is correctly configured to interact with Appwrite, and you have completed the sections in the Configuration part 📝
Registering a Traveler 🧳
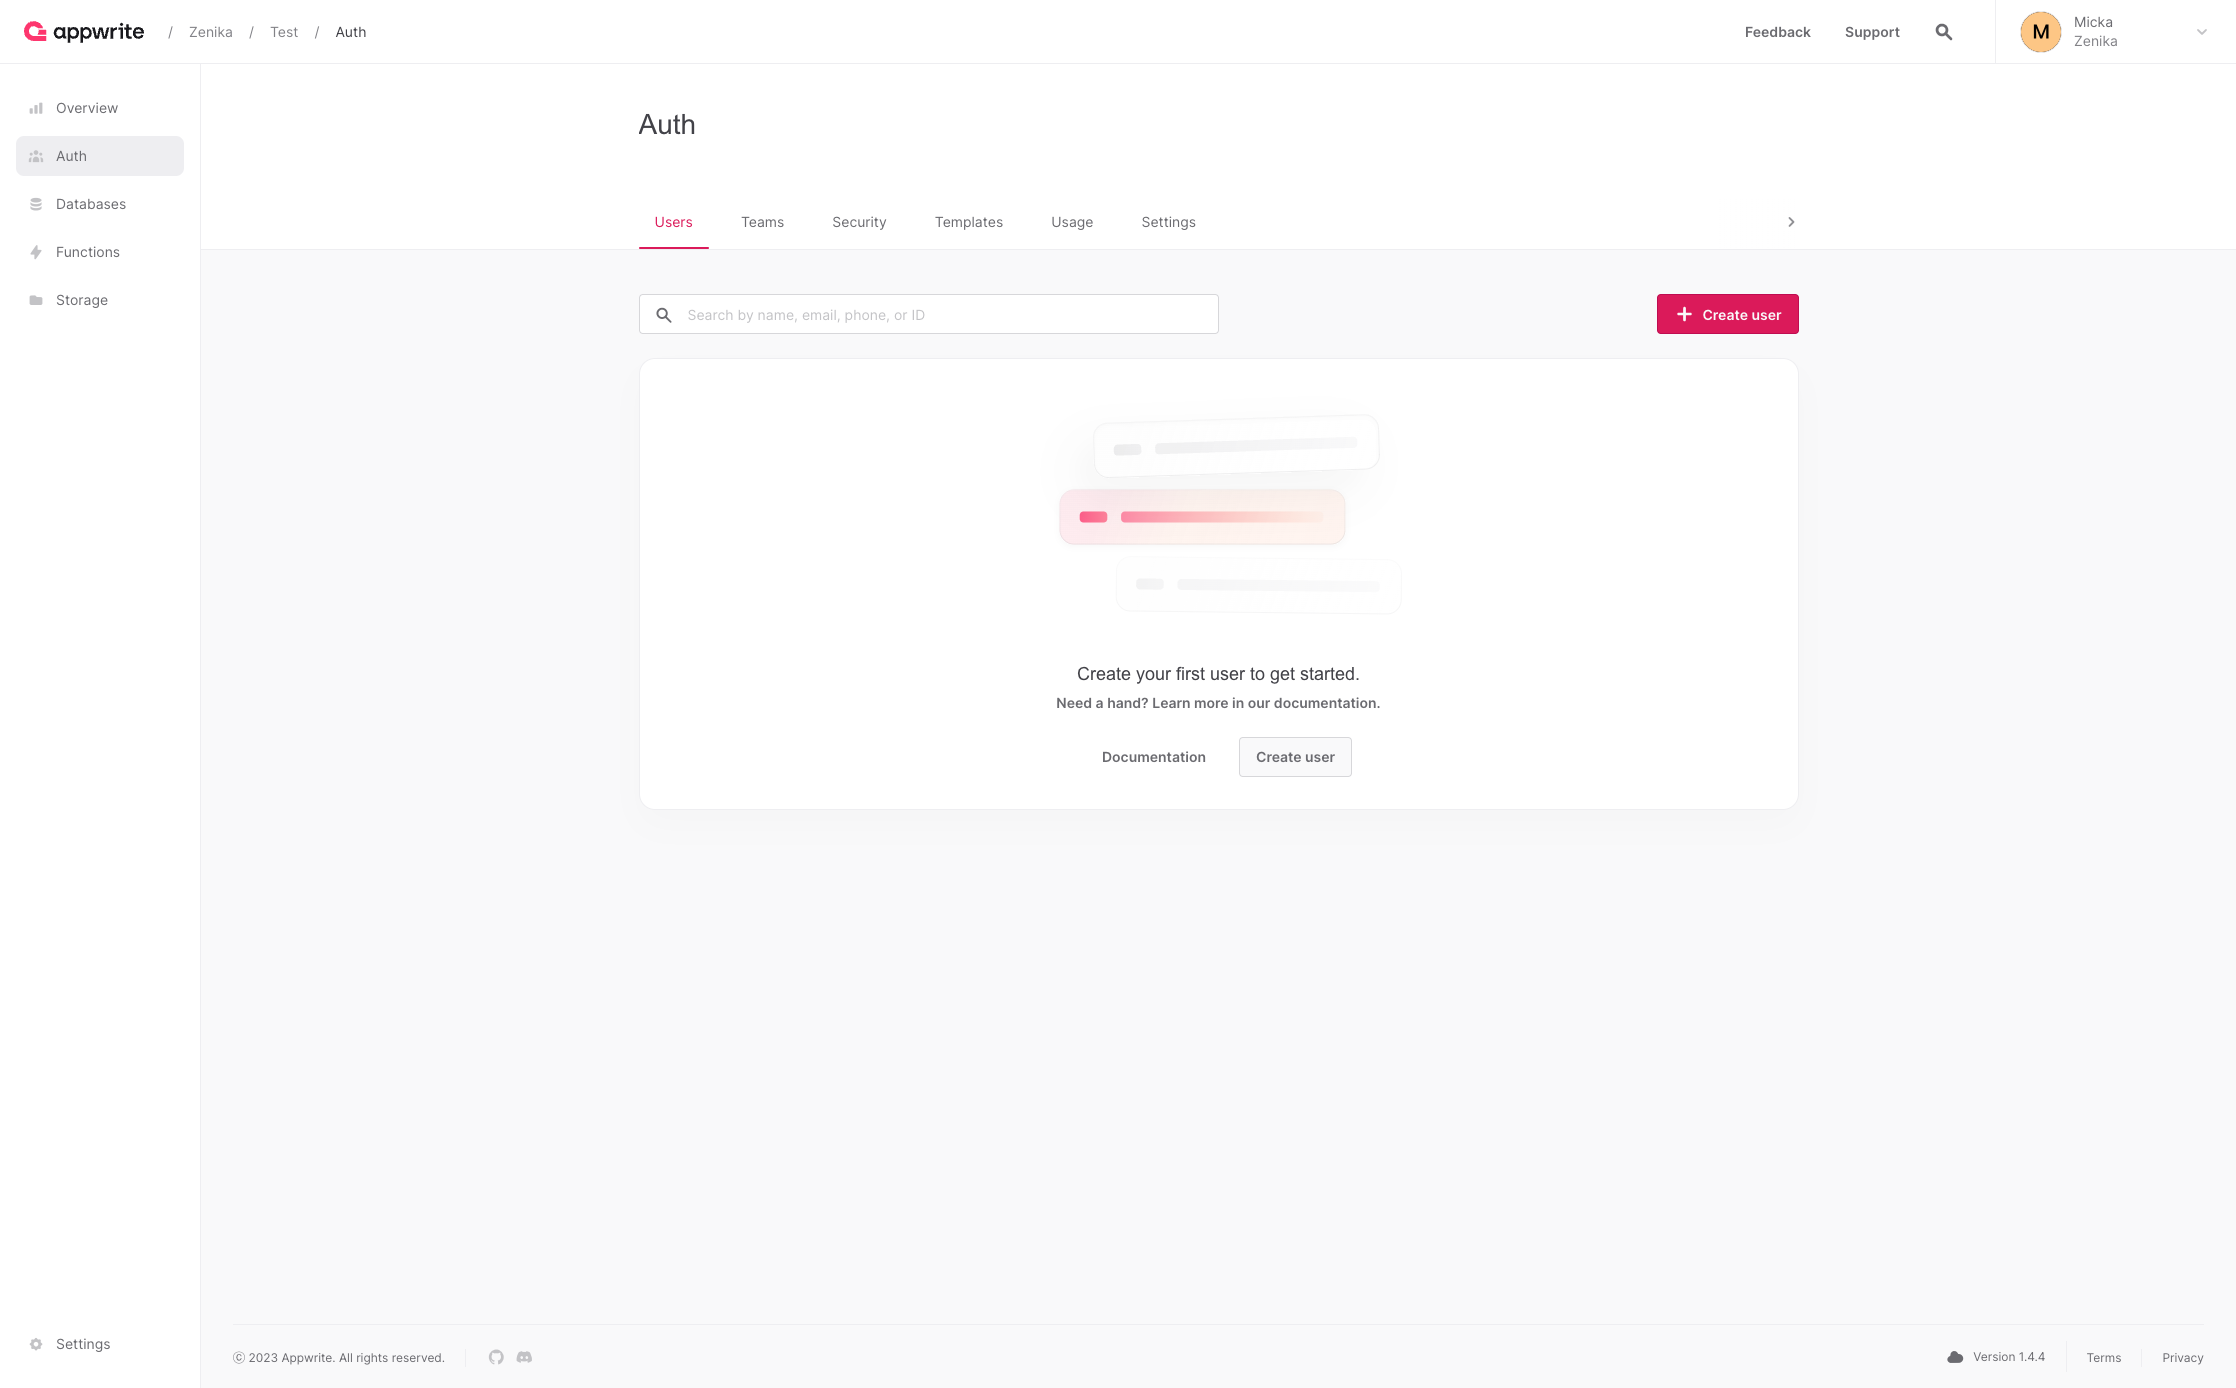
💟 Info Bonus : Registration in the Console 📝
Appwrite provides a user interface directly in the console to manage users. You can access this Authentication section from the left menu. From this page, you can view the list of registered users, manage their information, or even create new users 🏝️
But we are much more interested in the Appwrite API for managing users. That's why we're going to dive directly into the code! 🧑🏼💻
In our case, we'll use the Appwrite SDK to register a traveler. From the AppVenture application, you can see that by going to the registration page /register, the form to collect traveler information is already created! 🥳 Unfortunately for us, it seems to have been damaged, and some code snippets for communicating with Appwrite are missing... You'll need to fix all that! 🧑🔧
Step 1️⃣: Initialize the Account Service
Before you can use the Account service, you need to initialize it with your Appwrite client. To do this, you should import the Account service and create a new instance of it, passing your Appwrite client as a parameter. You can initialize the Account service in the src/workshop/api/config/client.config.ts file.
export const account = new Account(AppwriteClient);export const account = new Account(AppwriteClient);💟 Info Bonus : 3 other client SDKs!
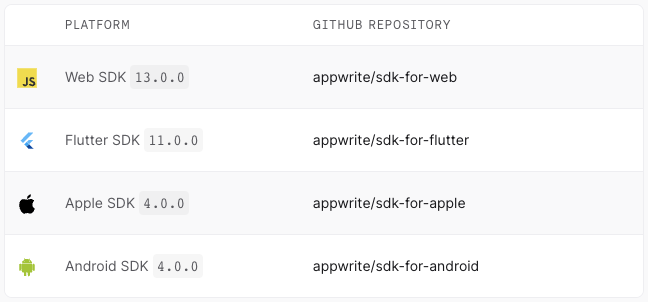
If later on, you want to use another client-side language, you can do so without any problem. Appwrite offers 3 different client-side SDKs for the following languages:
Step 2️⃣: Write the Registration Function
- Now that the Account service is initialized, we can complete the
registerfunction, which you can find in thesrc/workshop/api/modules/account/account.tsfile. This function takes the traveler's name, email, and password as parameters and uses the Appwrite API to perform the registration.
Solution ✅
import {UserType} from '@/types/UserHook.type';
import {AppwriteException, ID} from 'appwrite';
import {account} from '@/workshop/api/config/client.config';

export async function register(
  email: string,
  password: string,
  name: string,
  login: (email: string, password: string) => Promise<void>
): Promise<UserType> {
  try {
    return await account.create(ID.unique(), email, password, name);
  } catch (error: any) {
    throw new AppwriteException(error);
  }
}
import {UserType} from '@/types/UserHook.type';
import {AppwriteException, ID} from 'appwrite';
import {account} from '@/workshop/api/config/client.config';
export async function register(
email: string,
password: string,
name: string,
login: (email: string, password: string) => Promise<void>
): Promise<UserType> {
try {
return await account.create(ID.unique(), email, password, name);
} catch (error: any) {
throw new AppwriteException(error);
}
}🆔 Generating a Unique Identifier
When you interact with Appwrite during any data creation, it is necessary that your data has a unique identifier. For this Appwrite provides a utility function ID.unique() that allows you to generate a unique identifier. After that, you can use this identifier to create your data in Appwrite.
ℹ️ La gestion des erreurs Appwrite
Lorsque vous utilisez les services Appwrite, il est important de gérer les erreurs qui peuvent survenir. Pour cela, Appwrite vous permet de récupérer les erreurs avec le type AppwriteException. Vous pouvez ensuite récupérer le message ou le code de l'erreur et traiter l'erreur en conséquence dans votre application !
- Once we have retrieved the traveler's session, it is necessary to authenticate them with their credentials because the login is not automatic after registration. For this, we need to use the
loginfunction, which you can find in thesrc/workshop/api/modules/account/account.tsfile... Unfortunately, this function is not written yet! 🤔 We'll come back to this part later!
Step 3️⃣: Sign Up!
Now that the register function is written, you should be able to create your traveler's account! 🥳 The rest of the code is already written; you just need to go to the registration page /register and fill out the form!
Step 4️⃣: Verify Your Account
After filling out the form, you should be redirected to the login page /login. You should also see your user appear in the list of users in the Appwrite console! 📝 If you see it, then everything has gone well, and you'll be able to complete the login page in the next step! 🥳