Console Configuration 🛠️

Welcome to the Configuration section of the Appwrite Console, an essential part of our journey. Appwrite! 🧭 Here, we're going to get our Appwrite management tool ready to explore the vast universe before us universe. These initial configurations will ensure a smooth and enjoyable experience throughout our adventure 🚀
Initial Configuration ⚙️
To begin, let us guide you through the essential configurations for your Appwrite Cloud instance. In this section, we will show you how to create your own Appwrite instance, using the Cloud version. This will allow us to obtain the necessary configuration information for the rest of our journey 🏝️
TIP
Note: If you encounter issues, need additional assistance, or require more information, check out the Appwrite documentation for helpful resources 📘
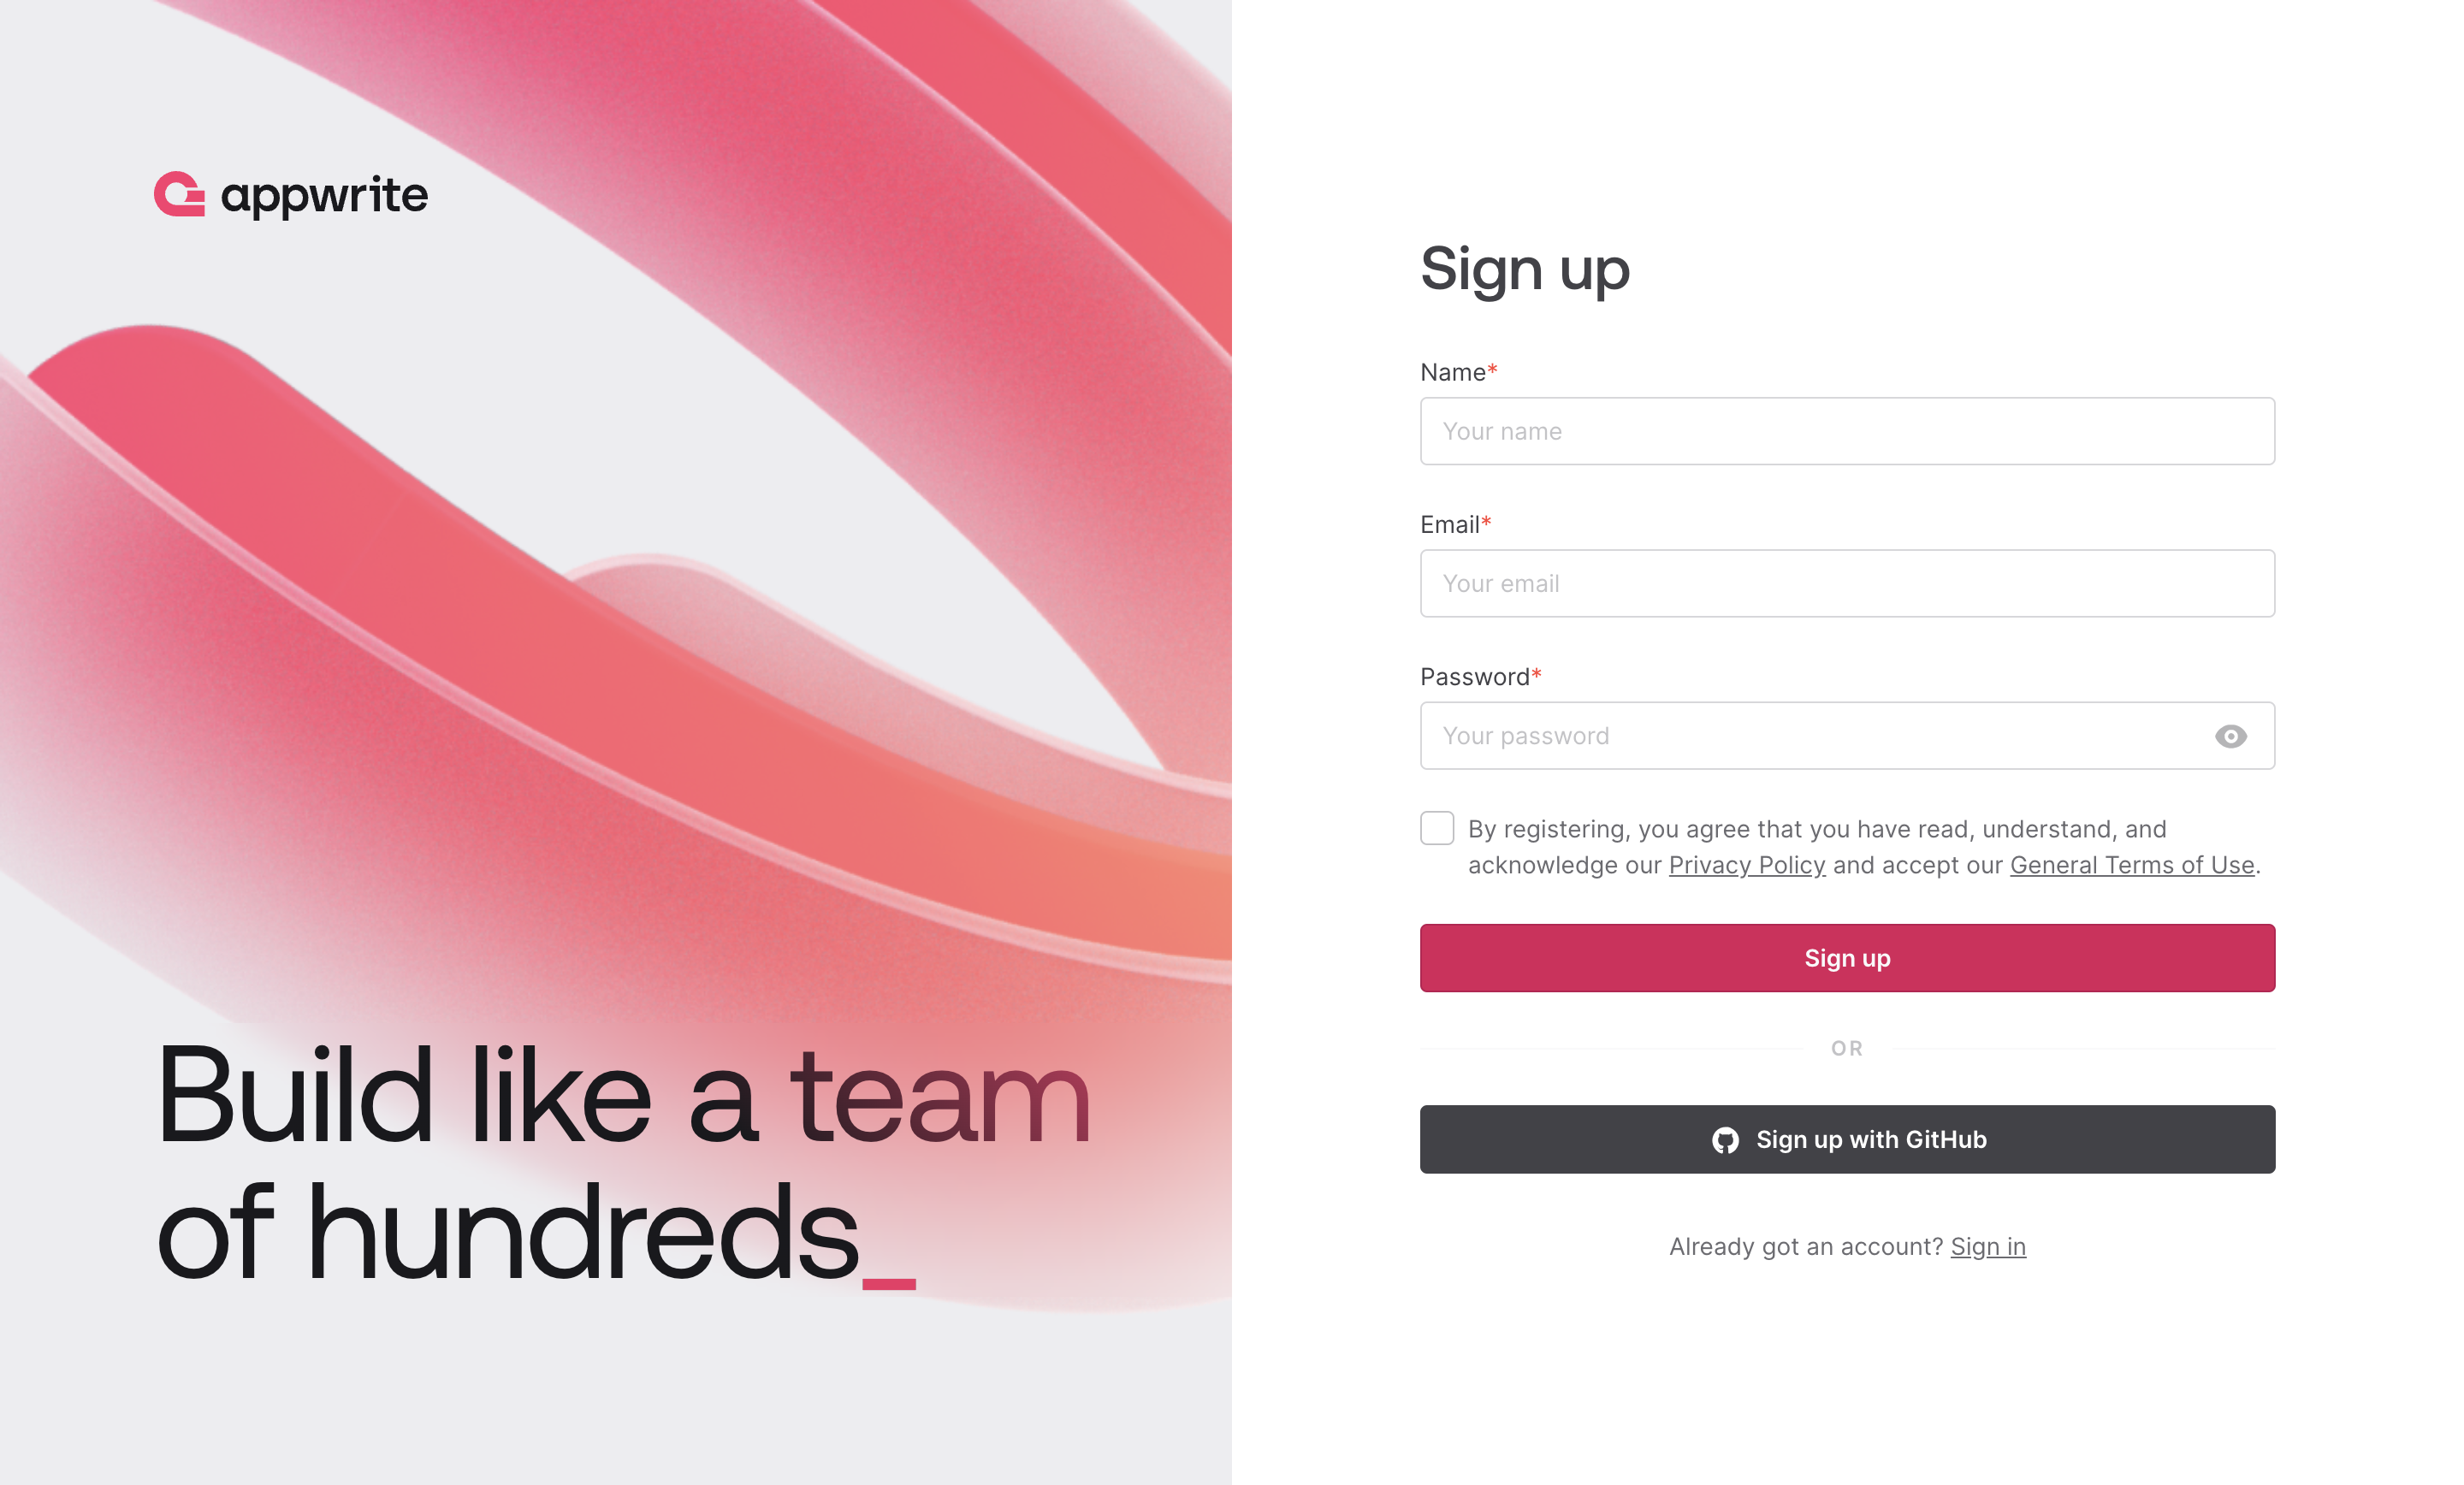
Step 1️⃣: Create Your Appwrite Account 👤
Firstly, you need to create an Appwrite account. To do this, you can go to the Appwrite Cloud Console to create your account. You can also sign in with your GitHub account if you prefer or use an existing account.
INFO
This Appwrite Cloud instance is free and will remain your property even after the end of this workshop 💪🏼
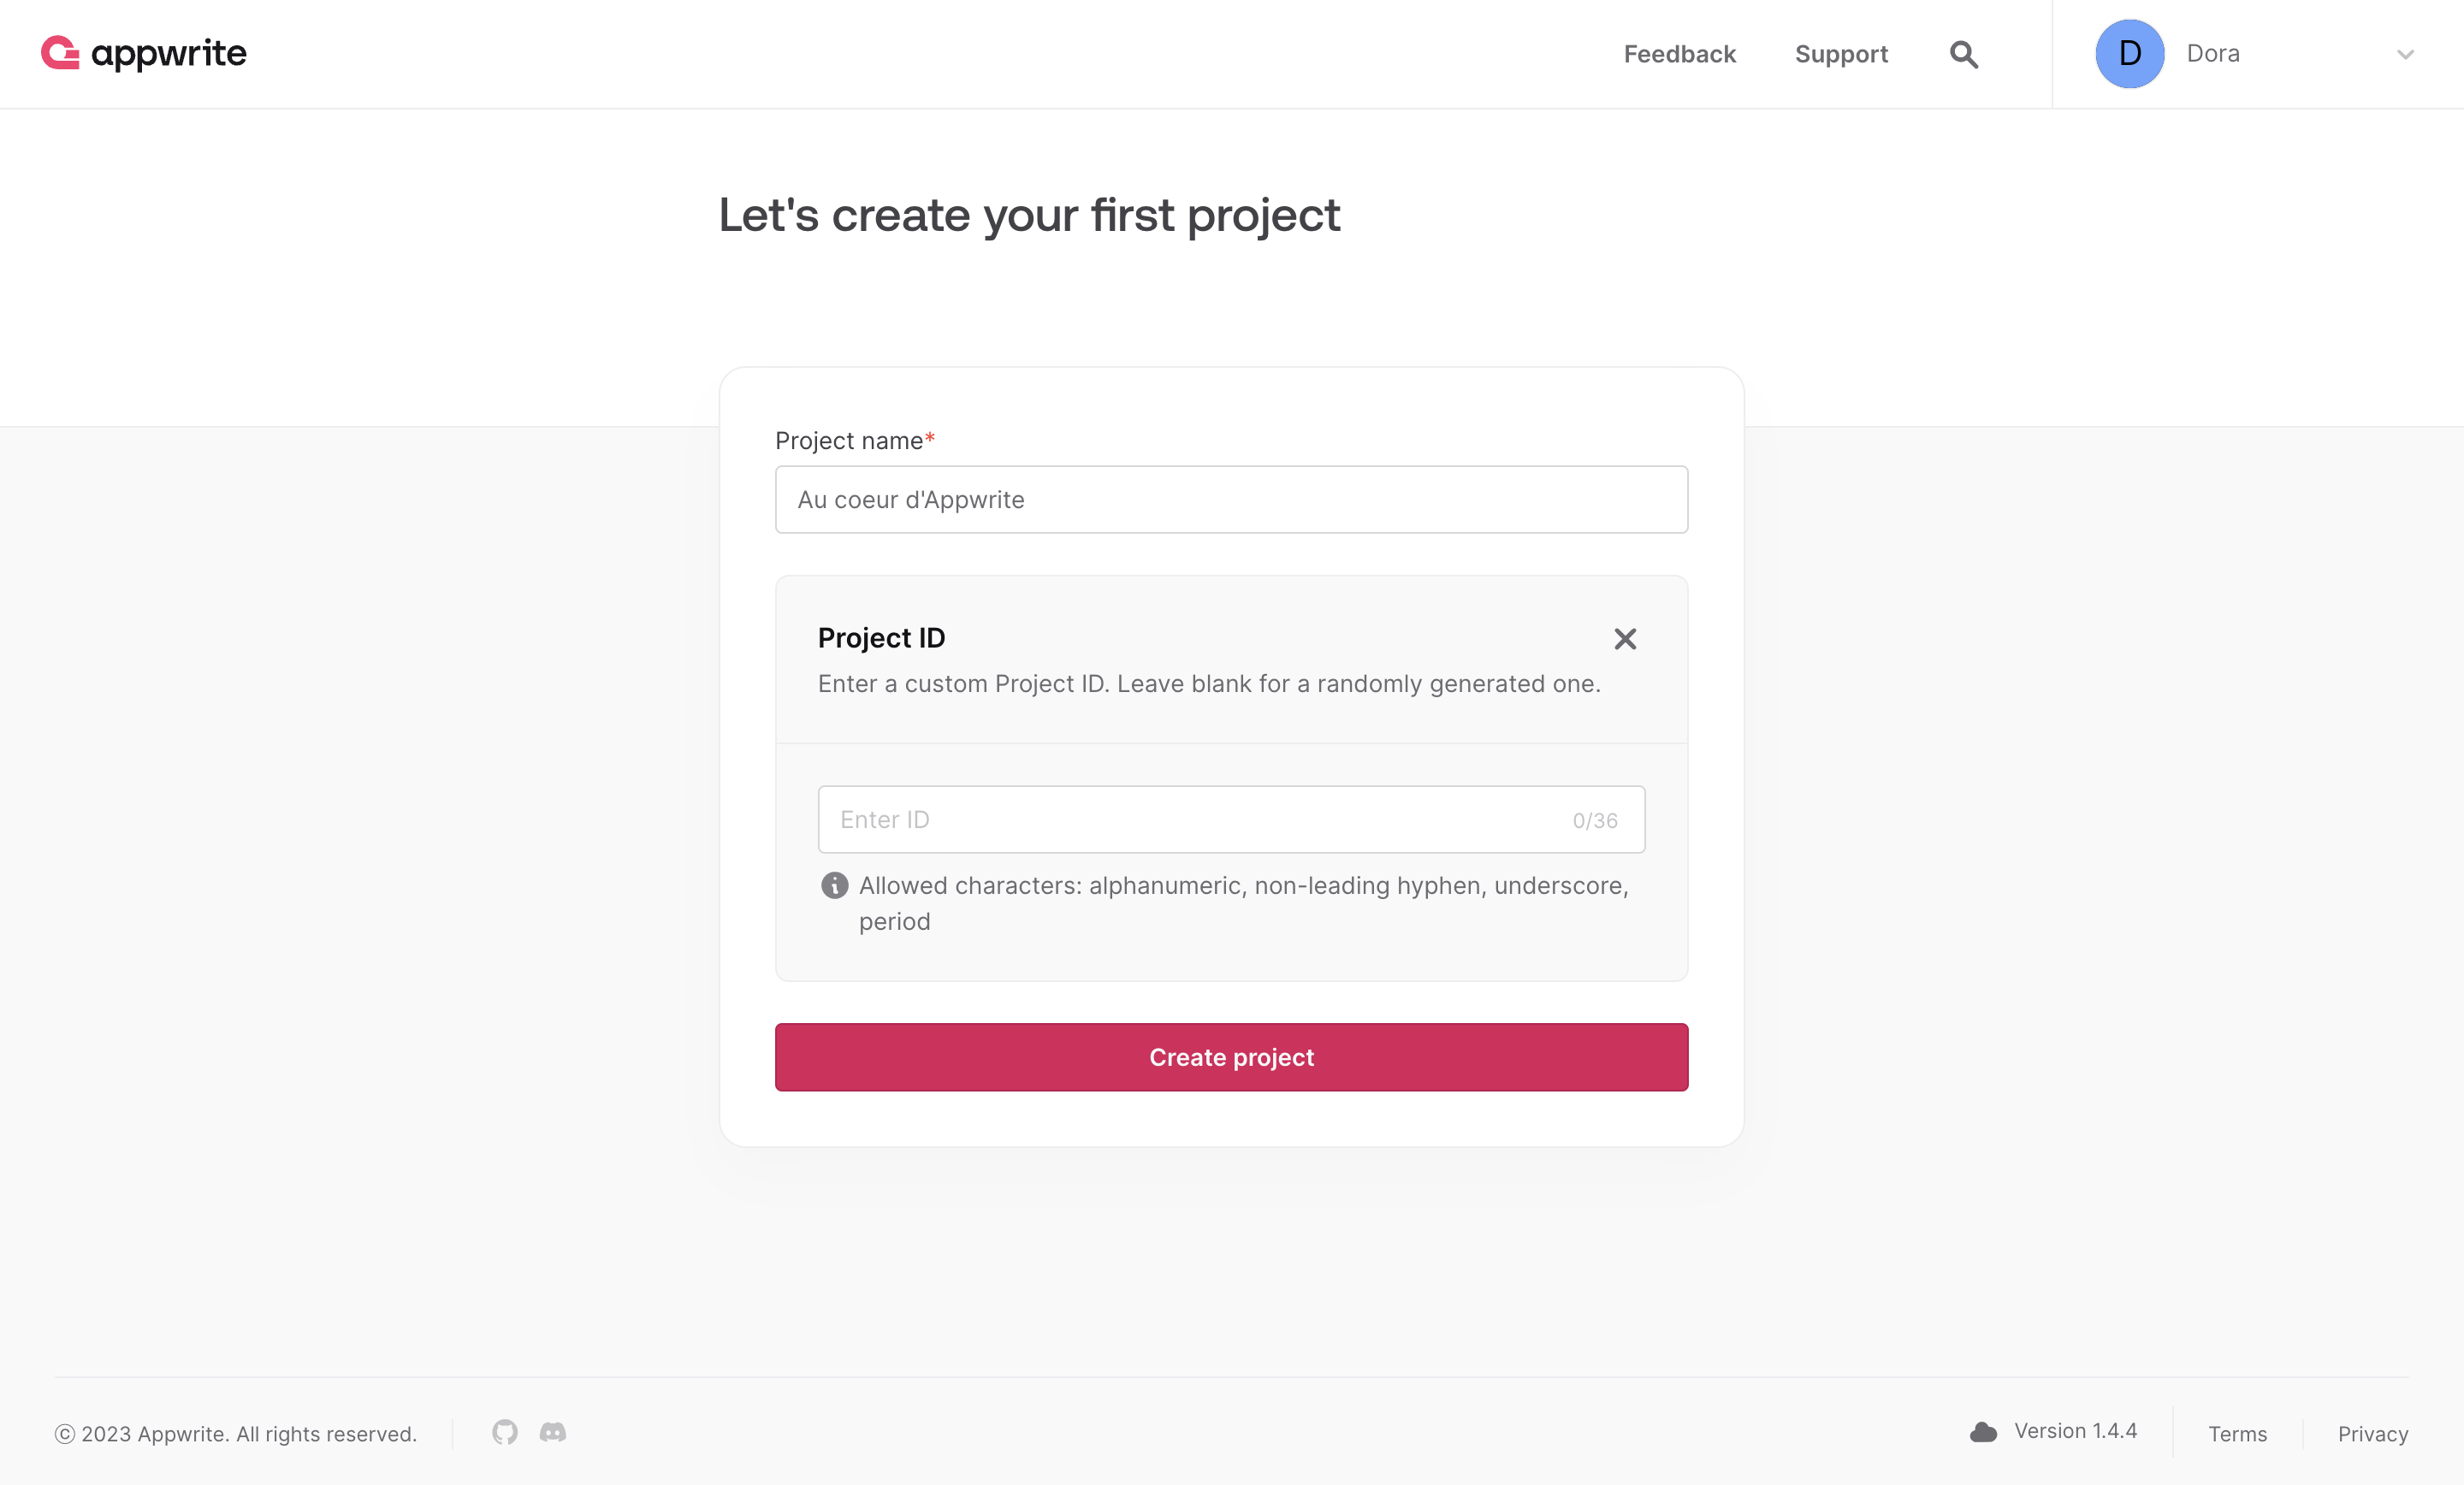
Step 2️⃣: Create Your First Project 🏗️
Once your account is created, you can create your first project. For example, you can name it AppVenture 📝
Step 3️⃣: Add a Web Platform to Your Project 🌐
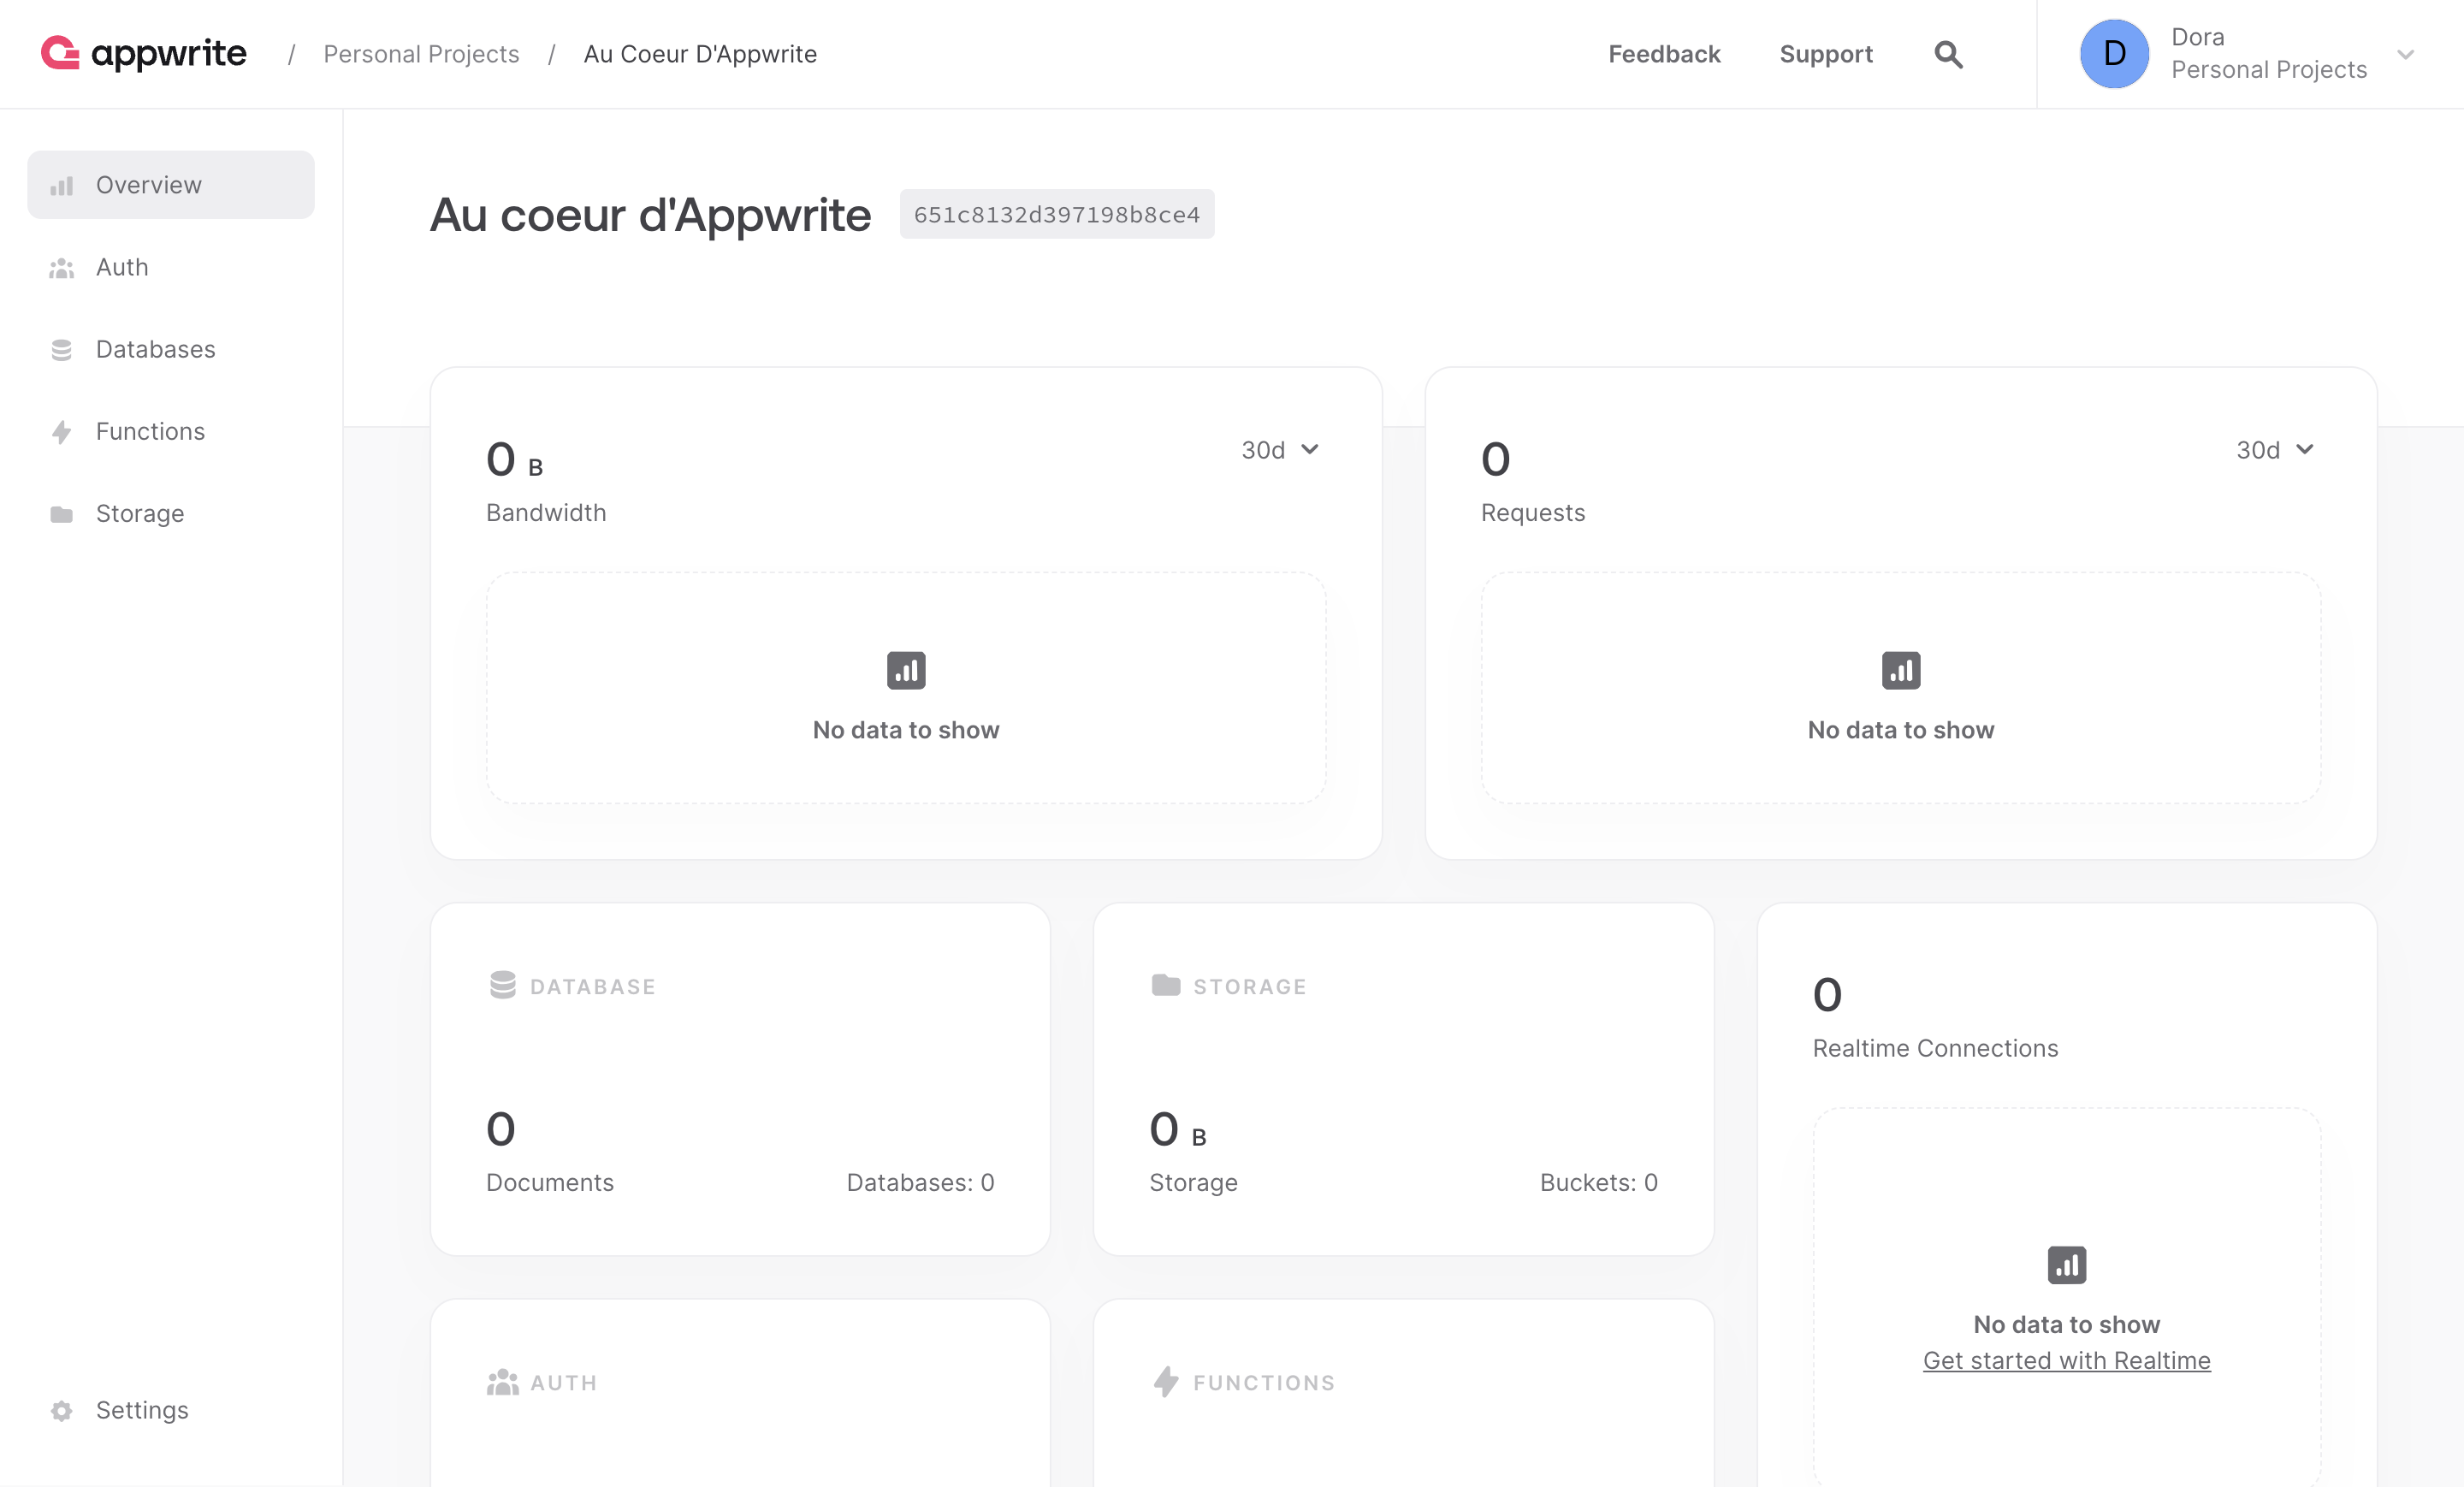
After creating your project, you can see your empty instance because it is not yet linked to any platform!
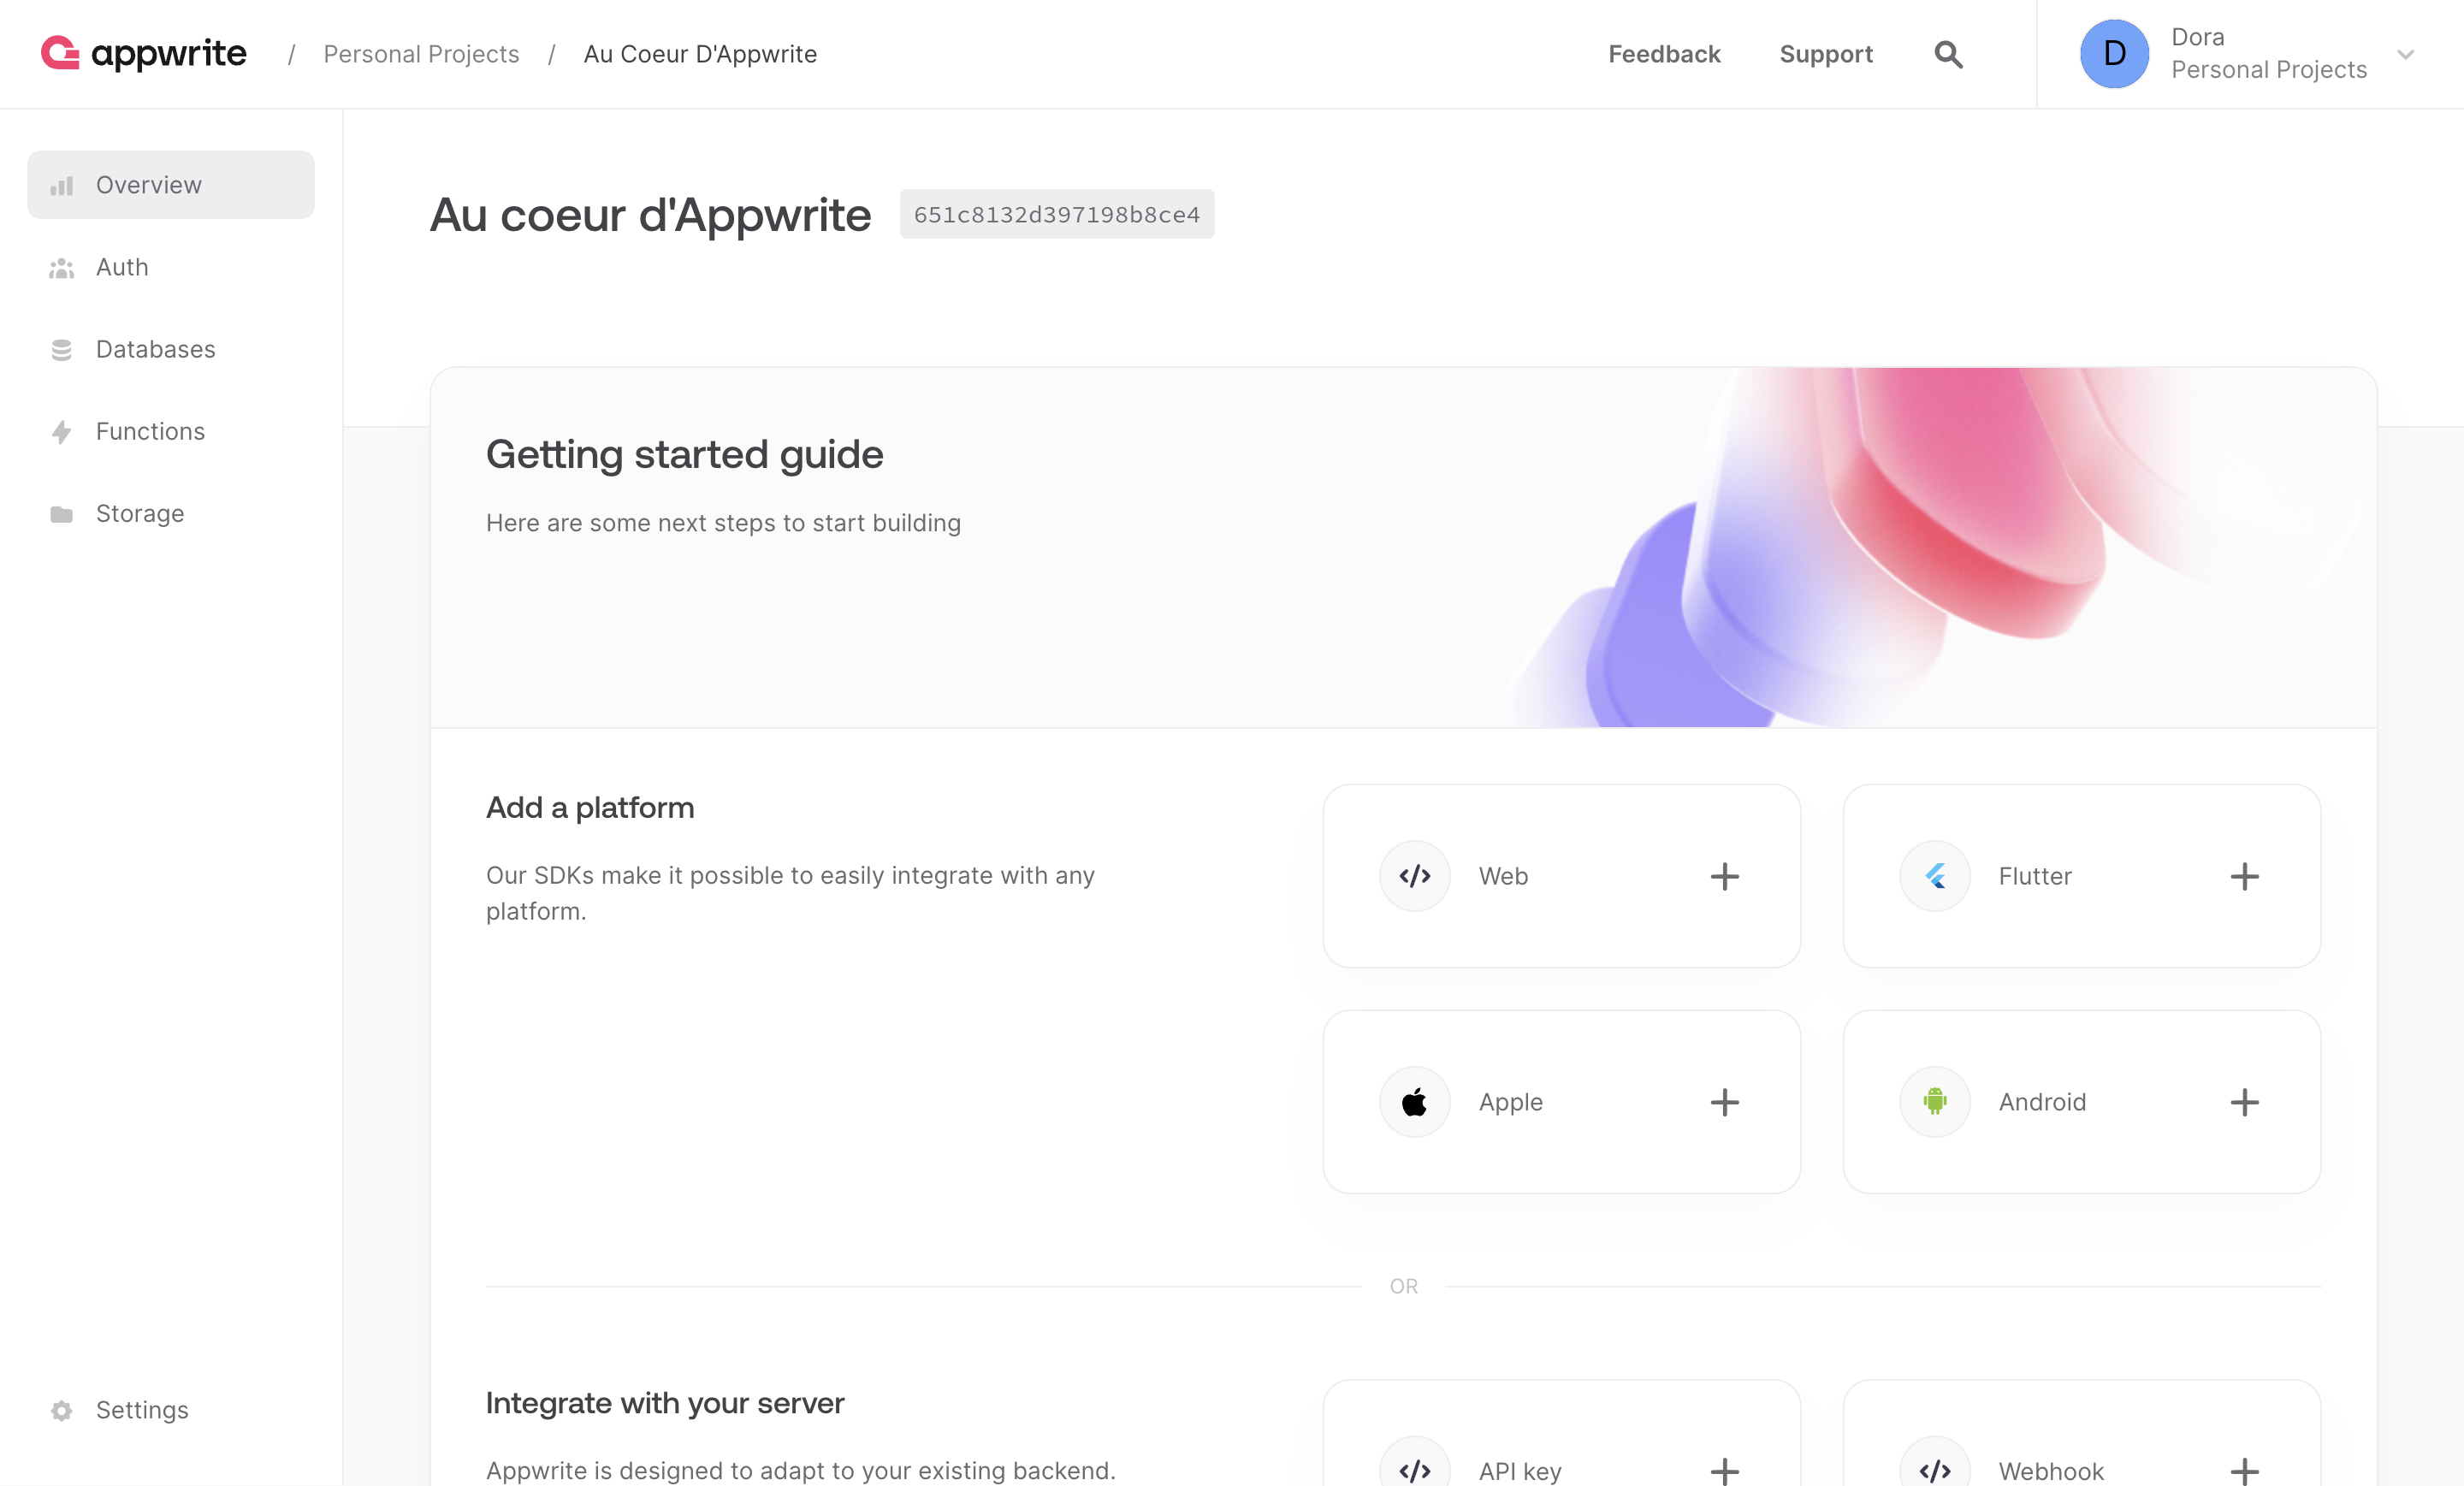
Under Add a platform, add a Web app. This will allow us to link our web application to this Appwrite instance later.
You can give your web application the name AppVenture Web, and for the hostname, you should enter localhost because it is the domain name that your web application will use to communicate with the Appwrite APIs 📡
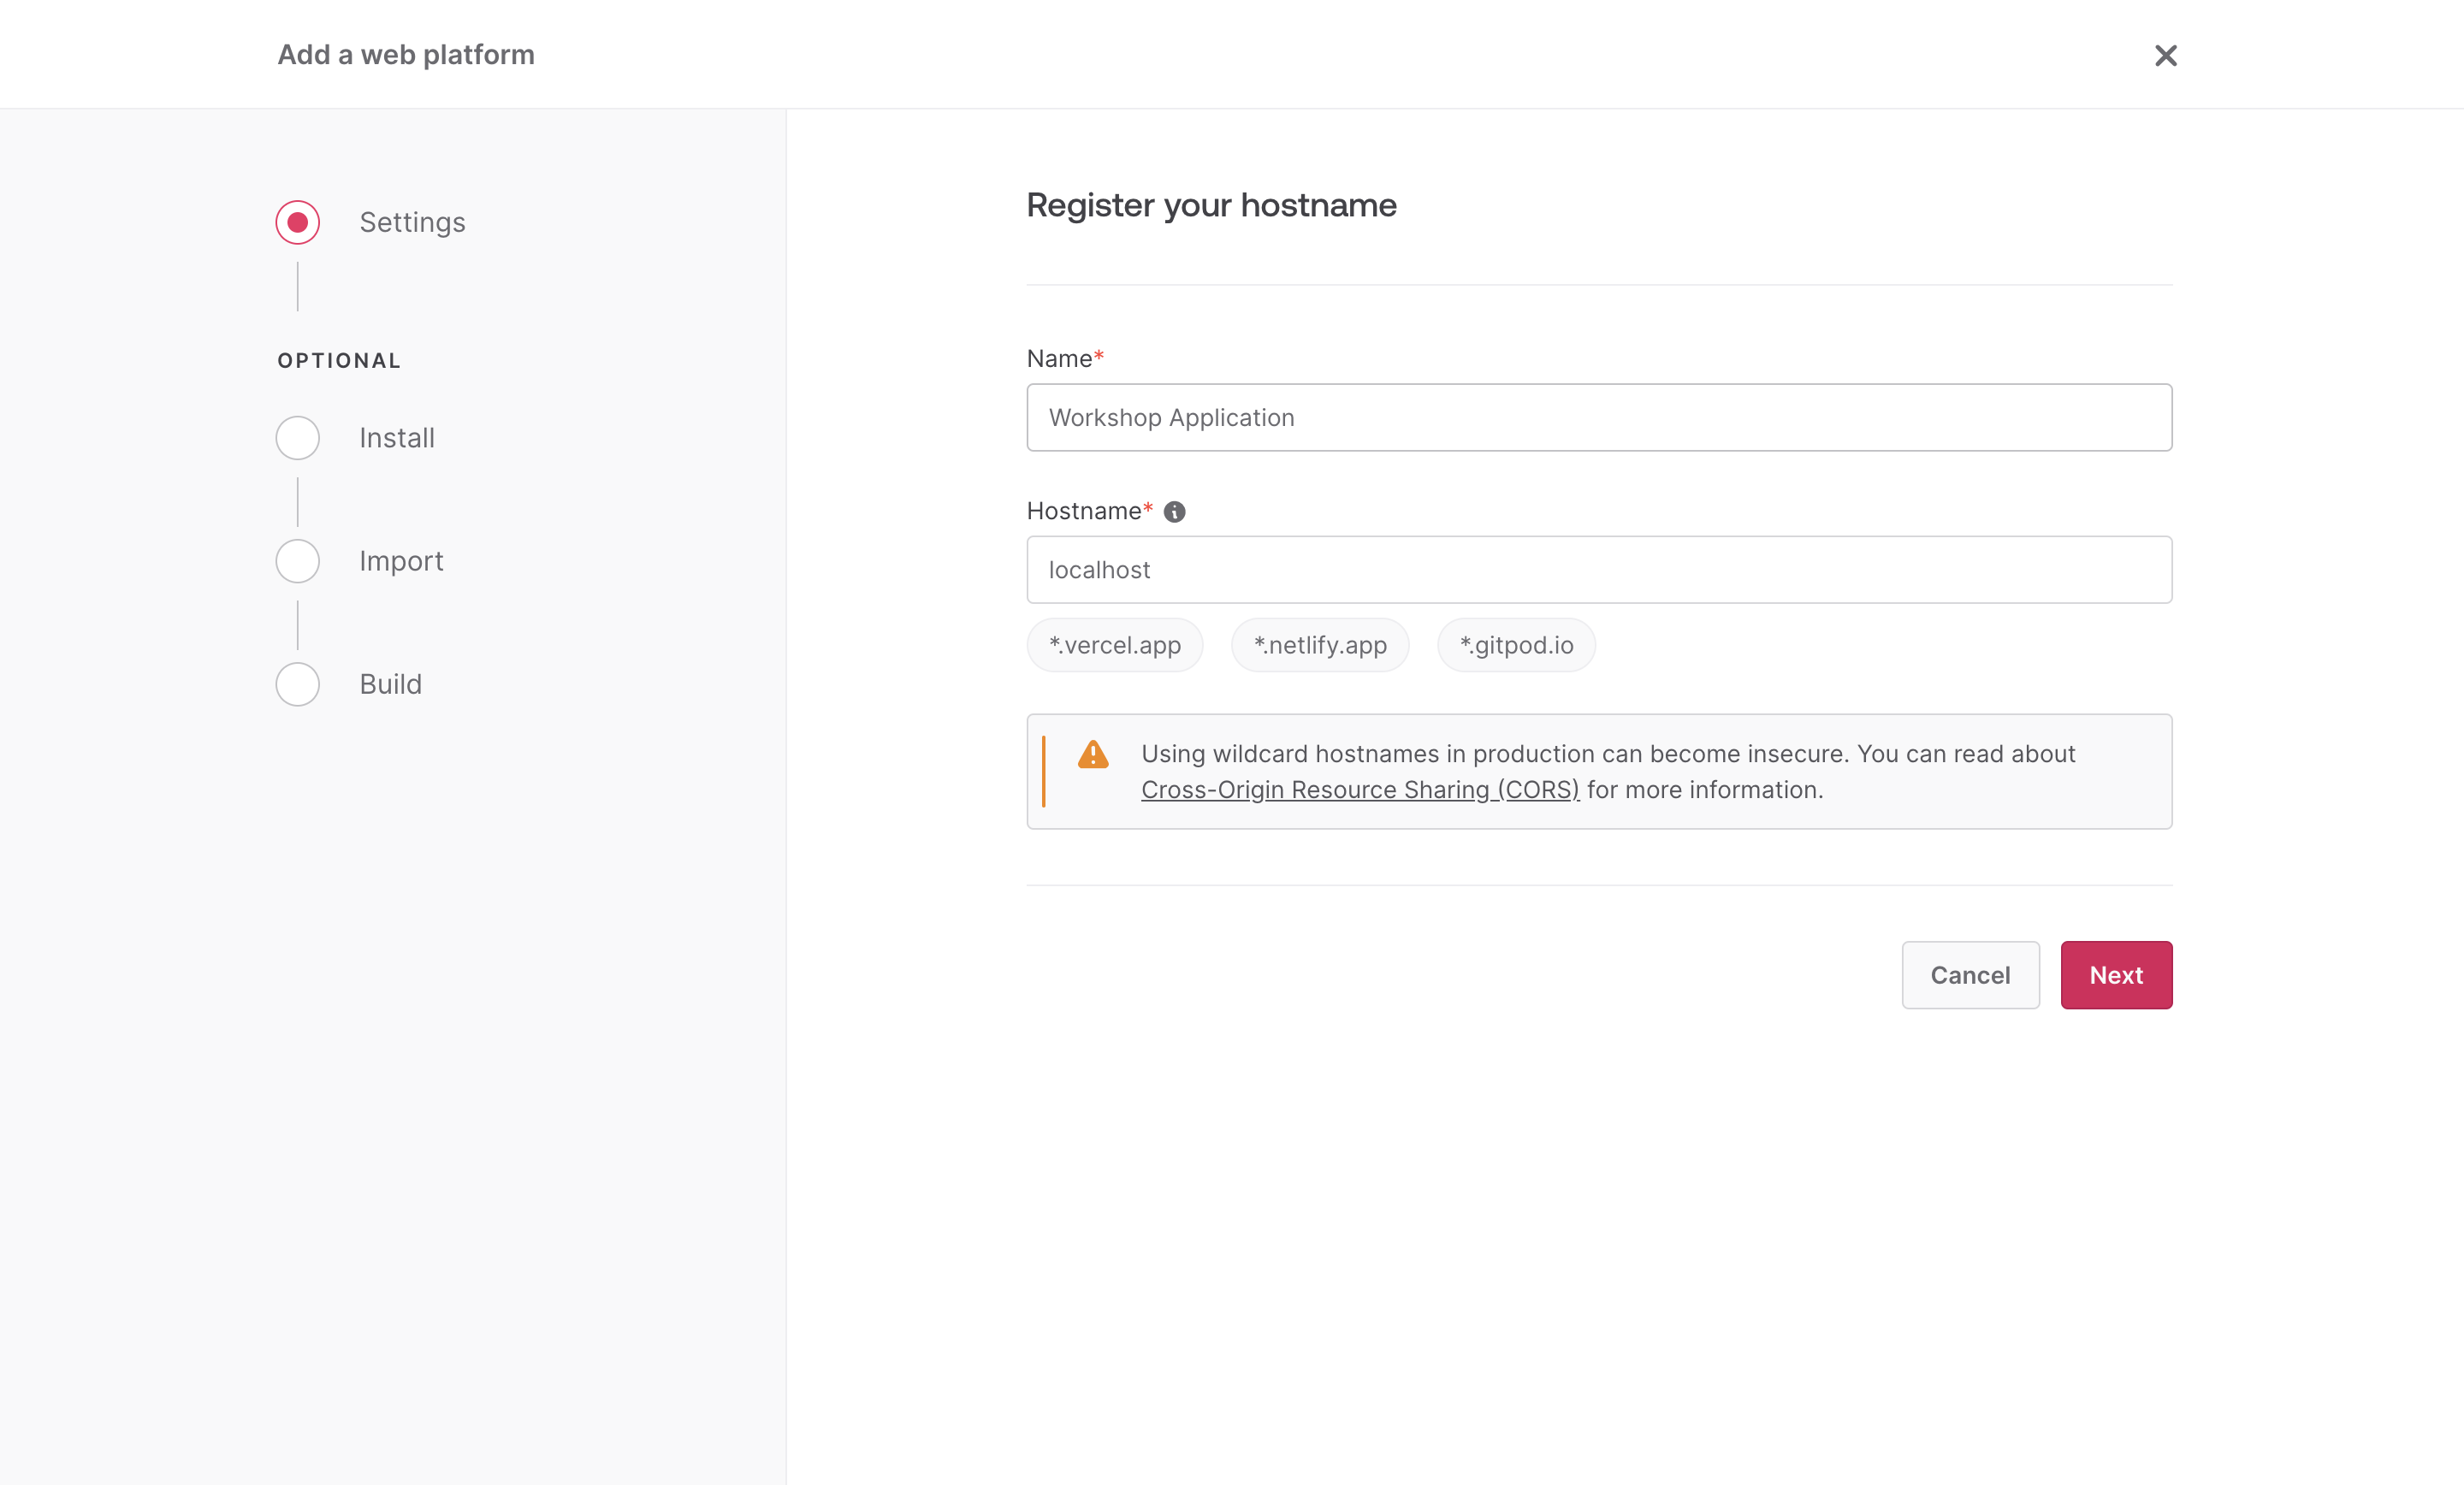
For the following steps, you can skip them as we will cover them in the next section to allow us to link our web application to our Appwrite instance 🤯
💟 Info Bonus : Other Ways to Set Up an Appwrite Instance 📦
Self-Hosting and One-Click Setups 📝
Appwrite also offers other methods to obtain your own instance, depending on your preferences. We won't cover these in this workshop, but you can explore them later in your future adventures with Appwrite.
Self-Hosting 🏠
Appwrite was designed from the ground up with self-hosting in mind. You can install and run Appwrite on any operating system capable of running a Docker CLI. Self-hosted Appwrite instances can be configured flexibly with access to the same features found on Appwrite Cloud.
The easiest way to start running your Appwrite server is by running our Docker installer tool from your terminal. Before running the installation command, make sure you have Docker CLI installed on your host machine :
docker run -it --rm \
    --volume /var/run/docker.sock:/var/run/docker.sock \
    --volume "$(pwd)"/appwrite:/usr/src/code/appwrite:rw \
    --entrypoint="install" \
    appwrite/appwrite:1.4.3
docker run -it --rm \
--volume /var/run/docker.sock:/var/run/docker.sock \
--volume "$(pwd)"/appwrite:/usr/src/code/appwrite:rw \
--entrypoint="install" \
appwrite/appwrite:1.4.3📖 Documentation - Self-Hosting
One-Click Setups 🖱️
In addition to running Appwrite locally, you can also launch Appwrite using a preconfigured setup. This allows you to quickly get started with Appwrite without installing Docker on your local machine.
📖 Documentation - One-Click Setups
Appwrite Cloud (BETA) 🌩️
Appwrite Cloud is a managed version of Appwrite that is hosted and maintained by the Appwrite team. Appwrite Cloud is the easiest way to get started with Appwrite. It is free (with limitations) to use and will remain your property even after the end of this workshop.
It's time for an exciting adventure in the heart of the Appwrite world with the AppVenture by your side! Your ship is still at the dock, waiting for you to link your application and your Appwrite instance for the grand departure 🌍
