 Appwrite Workshop
Let's create our own function ➕

Once we've arrived in the clouds, all we have to do is choose from the multitude of possibilities to create our function ... Which language to choose? Which creation method to use? Let's explore all that
Create your first function ☁️
Go to the function module in AppVenture.
In our case, we have a list of destinations. Unfortunately, they're all encrypted, so it's impossible to know where to go! As you can see, when you click on the button to add a destination, the new destination that appears is also always encrypted, so we're going to have to develop a function to be able to decrypt the destination when it's inserted into the database, so that we can finally know where to go!
To do this, you'll need to create a function, and there are several ways of doing this!
Recommended method for this workshop
You can use Appwrite's CLI to create your function with the following command:
appwrite init functionappwrite init functionThe CLI will ask you for several parameters, such as the name, ID and runtime of your function. If you leave the ID blank, you'll have a unique ID.
And that's it! Your function is created and will be waiting for you directly on the Appwrite console.
And when you want to redeploy it, after development for example, all you have to do is use the following command:
appwrite deploy functionappwrite deploy functionThis time, all you have to do is select the functions you want to deploy, and you're done!
Don't forget to add your API key to your function's environment variables, which you can find in the Settings tab.

As seen in the introduction, Appwrite provides several methods for creating functions, as well as a wide range of languages and runtimes! The solutions in this workshop are written in JS with Node.js, but you can choose another language if you're feeling adventurous 🥷
Test your function 🧪
Once you've created your function, you can go to the Appwrite console to test it. To do so, go to the Functions tab, click on your freshly deployed function.
You'll come to a view where you can see the status of your function, its deployment history and which of its functions is active.
TIP
To quickly test your function, you can click on the Execute now button, and a new execution will appear in the * Execution* tab. 🚀
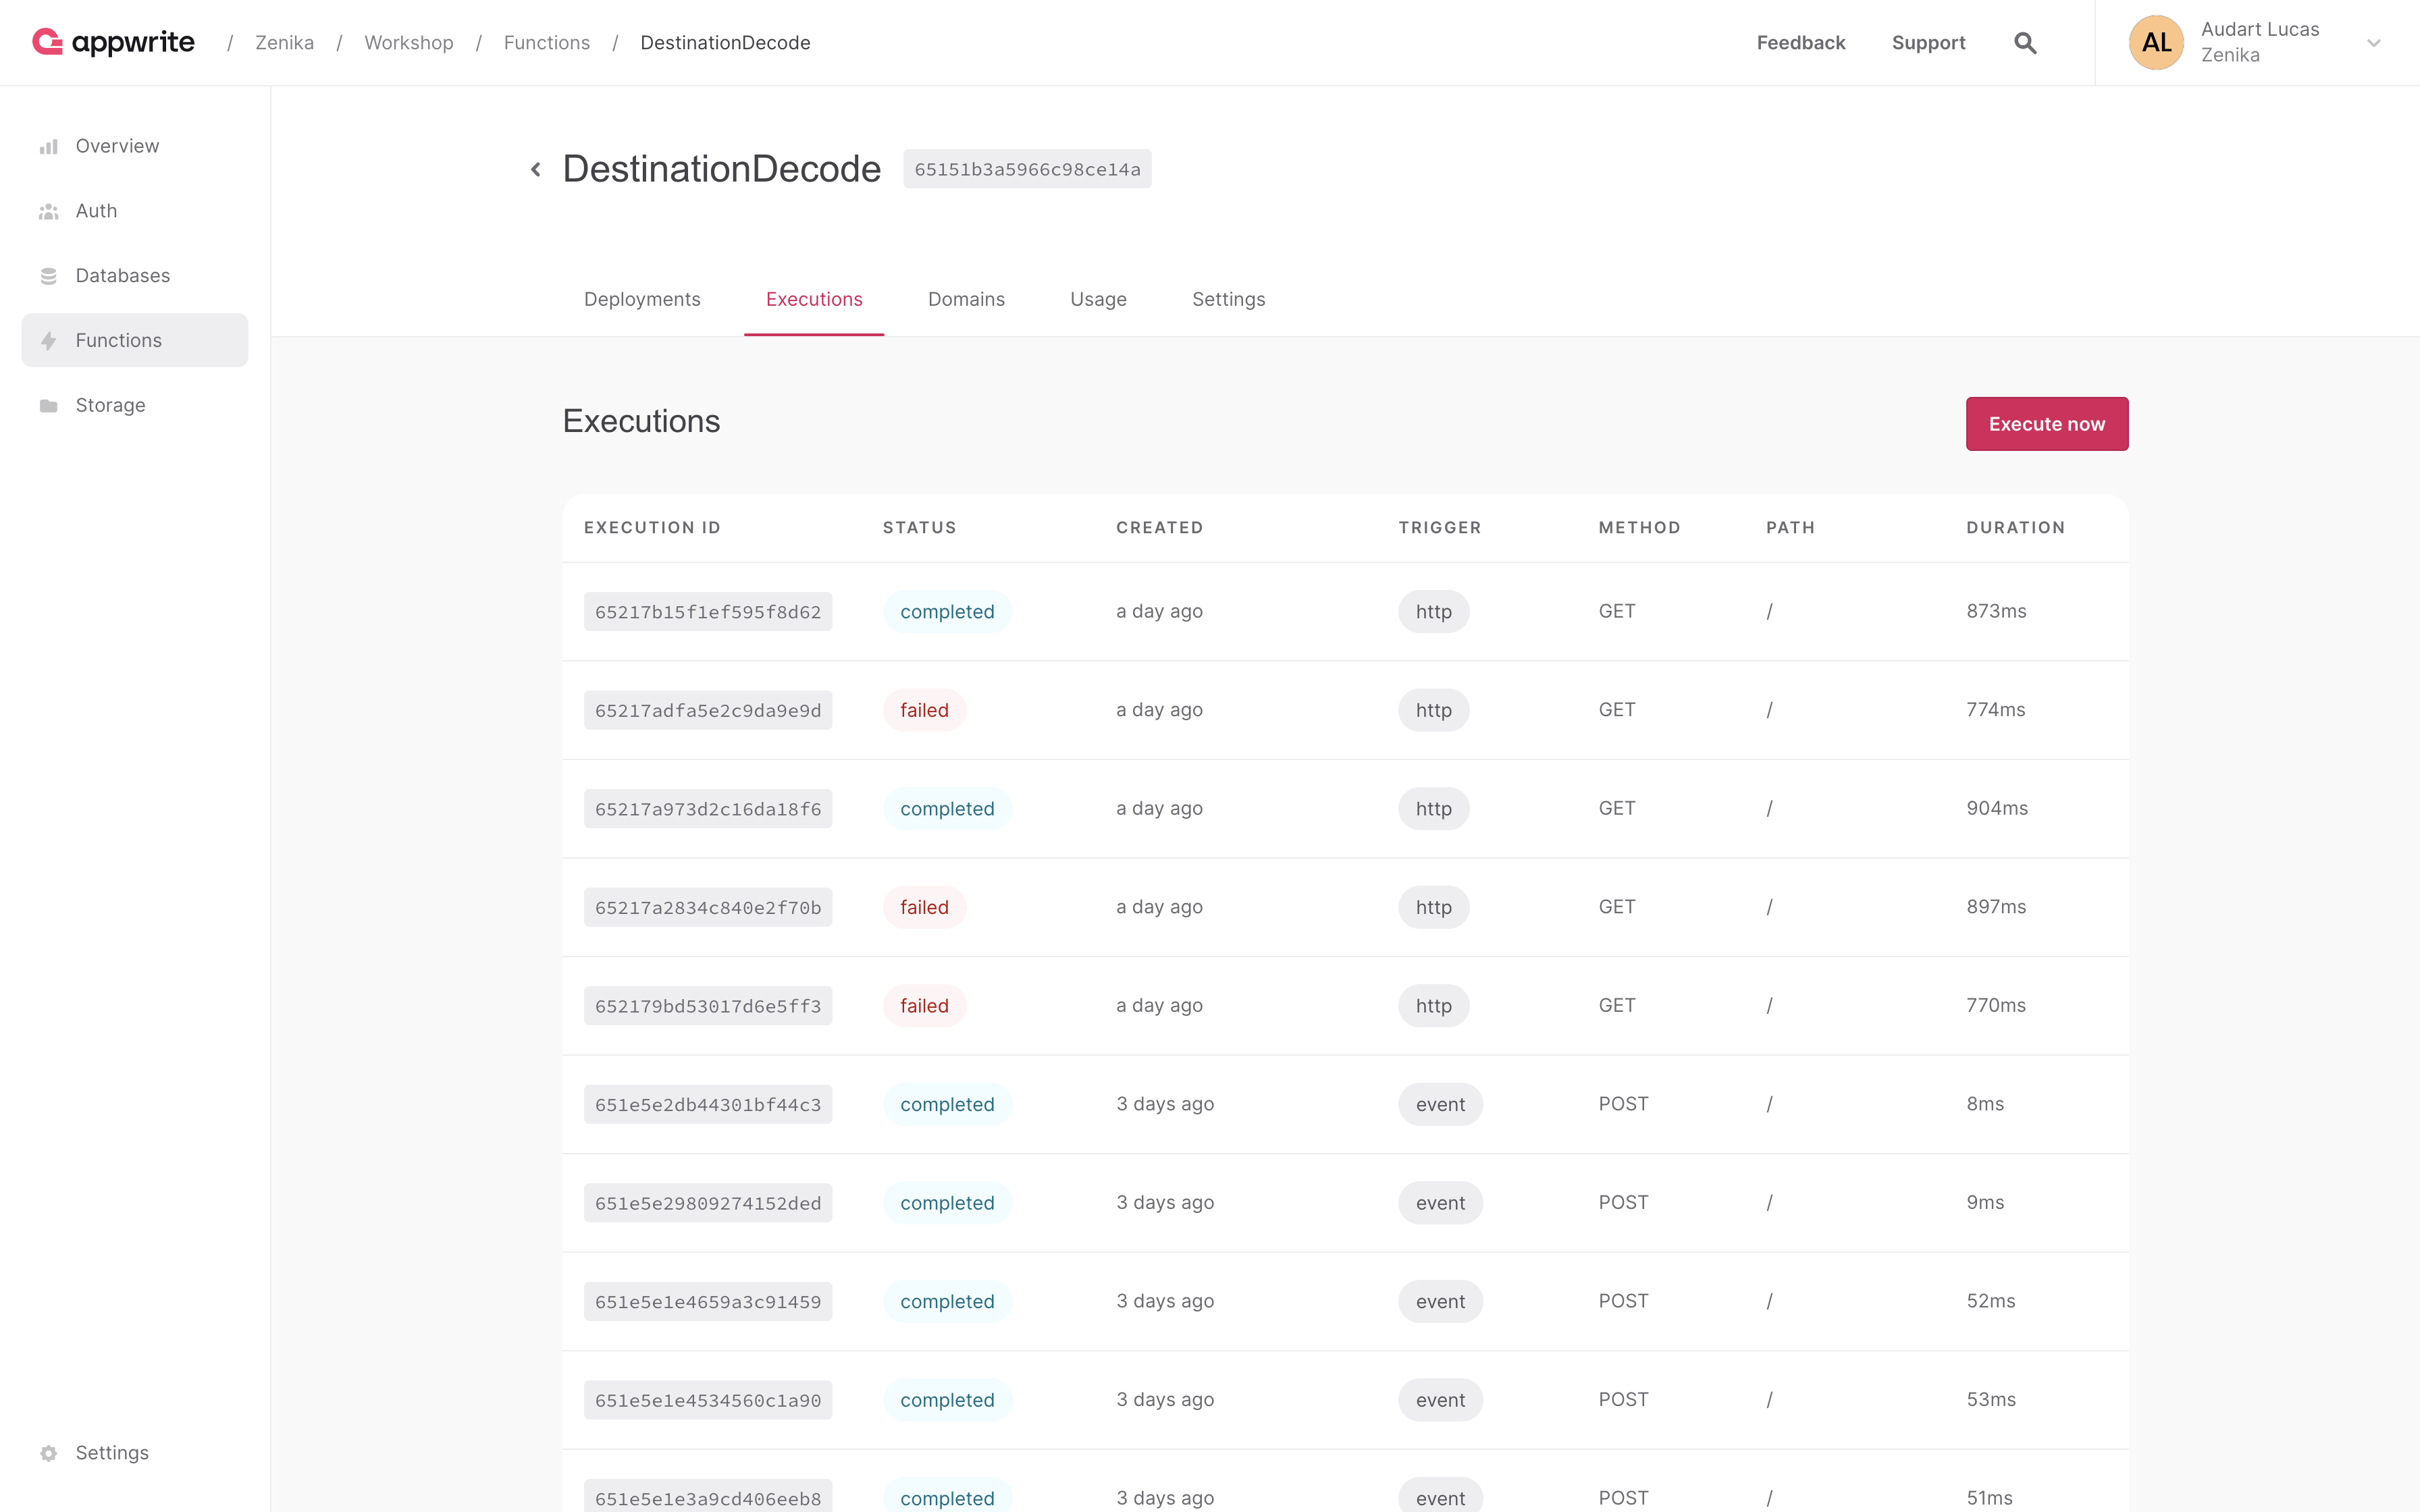
Once execution is complete (usually after a few milliseconds), you can access the various function logs, in which you should find the various function displays, "Hello, logs!" and the "Hello, errors!".
That's it! Our function reacts well, and now it's time to make it do more than just display console messages 🤩